How to Make Decorative Bottles of Dirt
So you want to make your own decorative bottles of dirt? You probably think it’s as simple as grabbing some dirt in your hand and cramming it into a bottle, right? Well, it’s not. It’s actually a rather time-consuming endeavor if you want to create a beautiful collection. Fortunately for you I have taken the time to write down my process. You’re welcome.
STEP 1: COLLECT DIRT
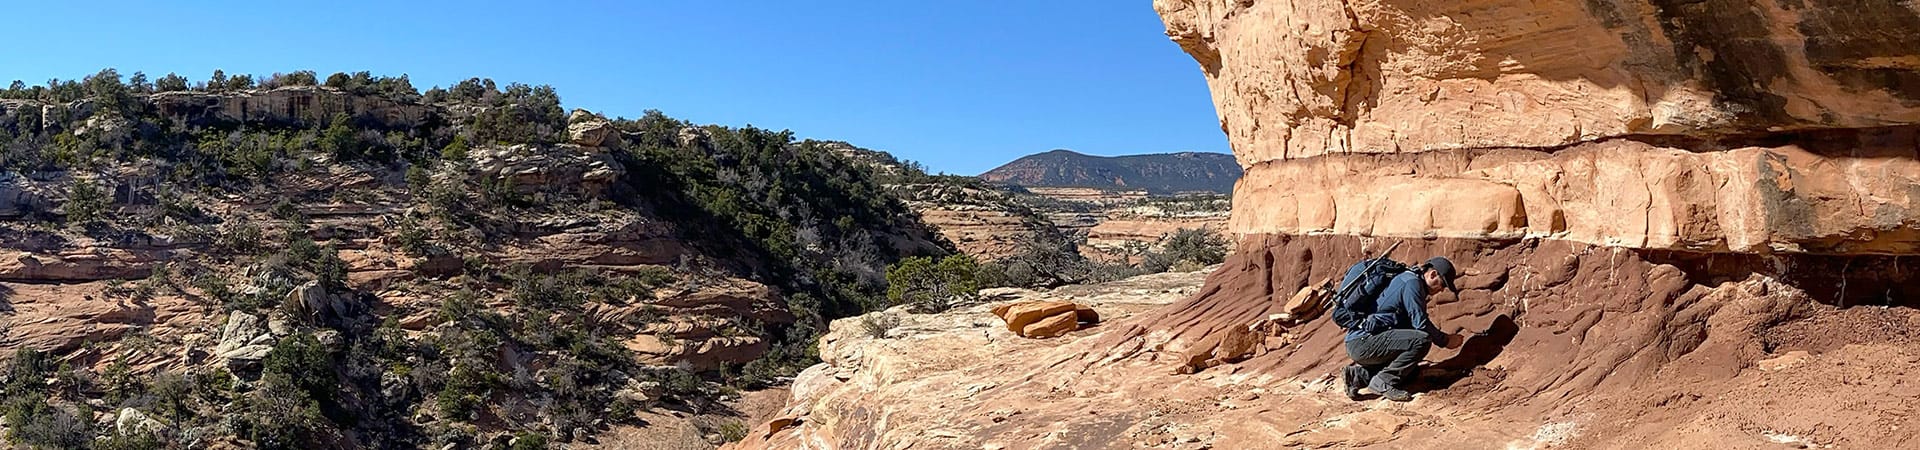
- Look for native dirt in a spot away from trafficked areas, paths, flower beds, gardens, etc. Doing so increases the likelihood that the dirt is not contaminated by human activity or placed there by humans for landscaping purposes.
- Find dirt that best represents your surroundings.
- Try to find dirt that has color variations. For example, different color grains that provide contrast and visual flavor.
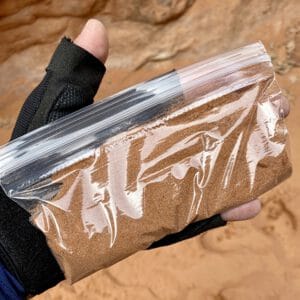
- Bring small Ziplock snack bags to use for dirt collection.
- Bring a Sharpie to mark the bag with the date and the place the sample was taken. You’ll be thankful you did this!
- Take a photo of the spot where you collected the dirt so the geolocation is captured. Must have a smartphone and locations services set to “on” for this to work.
- Do not damage the landscape in any way to collect dirt. Use loose dirt or sand that nature has provided.
- Do not take more than you need.
- Do not collect dirt that has a lot of grass, seeds, or other contaminants in it.
- Do not take dirt that has a lot of rocks or pebbles. You will only end up filtering them out later.
- Do not forget to mark your “dirt bag” with the date and place!!
STEP 2: PREPARE THE DIRT
- If the soil or sand is moist you will need to cook the water out. If the sample is moist proceed to Step 2, otherwise proceed to Step 4.
- Put the soil in a pot or pan and place on a stove.
- Heat the soil or sand on medium-low, stirring regularly until the soil or sand is completely dry.
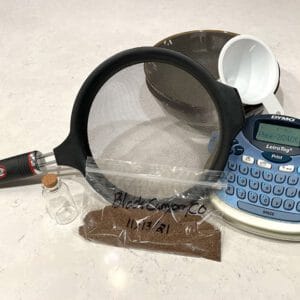
- You will need the following items: Two bowls, a mesh strainer, a small funnel, tweezers, and a small 20 mL bottle.
- Using the two bowls and the strainer, sift the dirt to remove larger grains, grass, or seeds. Some pieces of grass and seed may be too small to be filtered. In that case use tweezers to pull them out.
- Sift until the sample is as clean as possible and the grains are all about the same size.
- Place an empty bottle into the empty bowl. Using the funnel, slowly pour dirt into the bottle.
- Gently tap the bottle on a hard surface to compact the dirt. This step is super important!
- Pour, tap-tap & repeat until the dirt stays at the neck of the bottle.
- Once the bottle is properly filled, cap it with a cork or cap or whatever suits you.
STEP 3: DISPLAY THE DIRT
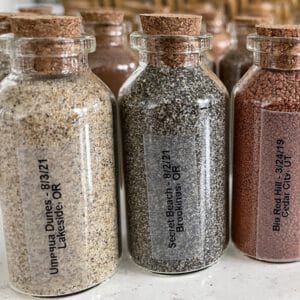
- Label your bottle(s) using a label maker. I use a Dymo LetraTag Label Maker with clear label stock. Works great, looks great!
- On your labels put details such as: place, date, city, state, country.
- Put your bottle(s) on display!
Regardless of how you choose to display your bottles of dirt, they are guaranteed to trigger detailed memories of the journey you took to find them. They are literally memories you can hold in the palm of your hand.